
Sunday, October 5, 2014
Tutorial: Adding Follow Buttons
For the visual learner; I will walk you through how to add Follow Buttons to your Blogger blog.
Tuesday, September 9, 2014
Tutorial: Combining documents into a PDF
I have received numerous questions over the last few months regarding how to merge documents into one PDF file. While I have supplied external 'How To' links to other's tutorials , students still seem to be confused. For this reason, I have created a tutorial to guide you through this simple process. The tutorial can be found below.
Tuesday, October 1, 2013
Adding Social Follow Buttons: 8 Easy Steps
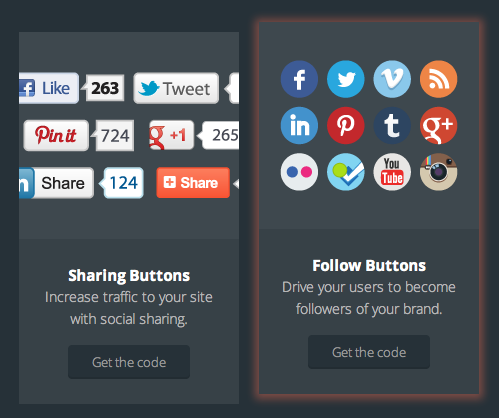
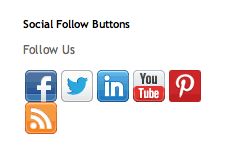
It is important to add social follow buttons to your blog in order to cross promote your brand's social assets. To make it easy for your followers to find your official social platforms you will want to place these buttons in a place that is easy for your viewers to access and find. This could be in your website/blog sidebar, header or on the homepage.
To add social follow buttons to your blog you can follow these simple steps.
Step 1: Visit AddThis.com. Scroll down to the section that says, "Follow Buttons" and select the button that says, "Get Code."
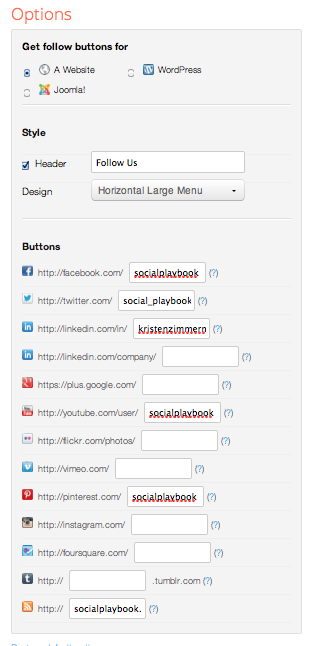
Step 2: Under the options section enter in the information as relevant to your social platforms. For the purposes of this class you will select "website" under the sub-section "Get follow buttons for". You will then choose a style based on your own personal design preferences. After that you will enter in the correct url for your brand assets next to the social media buttons you choose to include on your blog. Remember that for assignment 1 you must include at minimum: Facebook, Twitter, and YouTube.
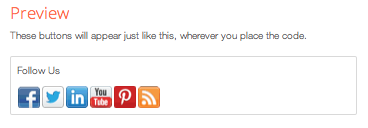
Step 3: Check the preview section to verify that the buttons line up as designed. Click on the buttons to assure that the links work properly.
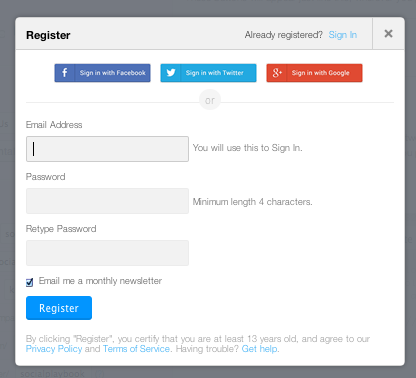
Step 4: To gain access to the code you need to sign-in or create an account. Go ahead and register.
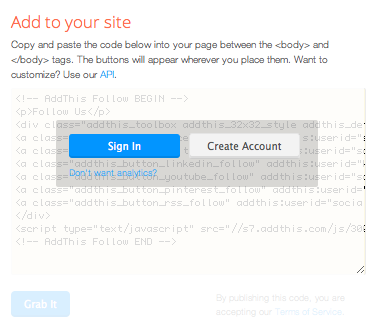
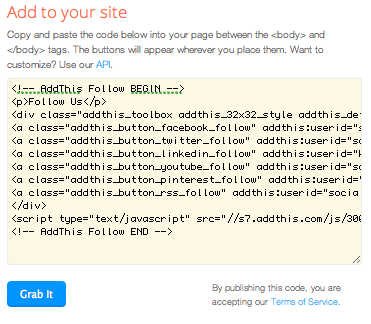
Step 5: Once you have registered, click the "Grab It" button.
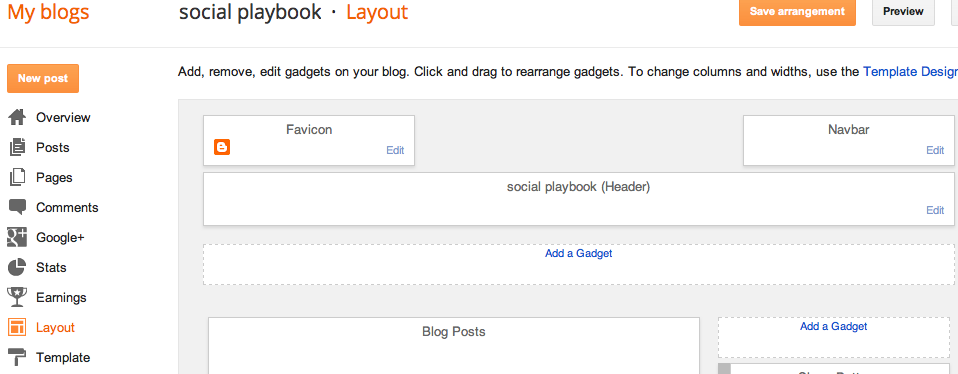
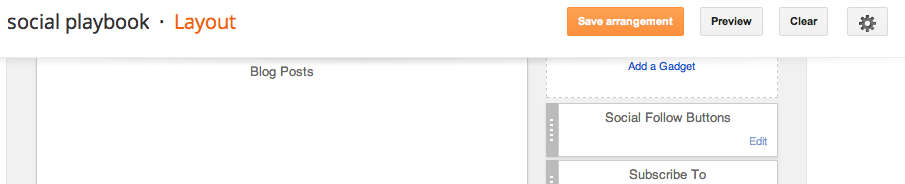
Step 6: Sign-in to your Blogger account, visit the Layout section, and select "Add a Gadget".
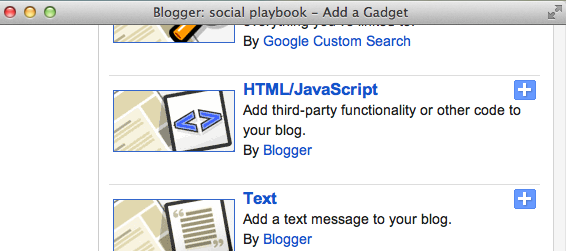
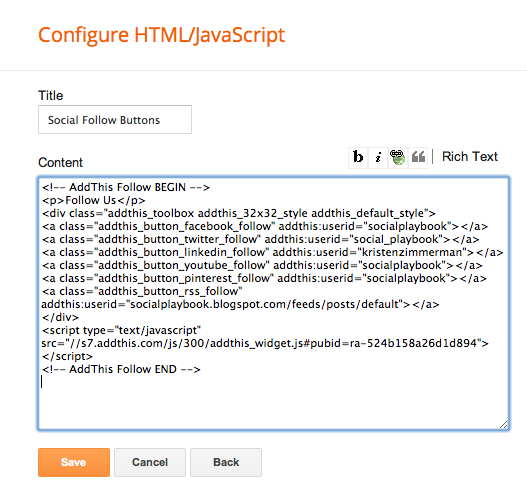
Step 7: From the pop-up menu that appears scroll down and select the HTML/Javascript widget.
Step 8: If you choose, enter in a unique title and then paste the code in the content section. When you are finished click "Save" and then click "Save Arrangement" on the Layout page.
Congratulations! You just added social follow buttons to your blog. To view your results click the "View Blog" button.
Saturday, July 13, 2013
Adding Google Analytics To Your Blog
There are two ways to add your Google Analytics to your Blogger blog. This tutorial will show you how to do both. *Please note it can take 24 hours for your results to show up after you add the code.
Option 1:
From your blog overview page, select the "Settings" link from the left hand side navigation bar. A new list of links will appear, select "Other"

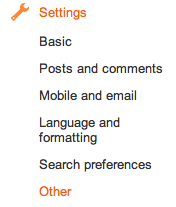
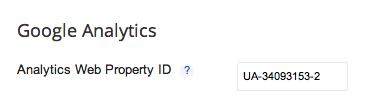
Once you select other you will see a section called Google Analytics. There will be a box asking you to enter in the Analytics Web Property ID. If you already know it enter it in and save your settings. If you don't continue on with the instructions.

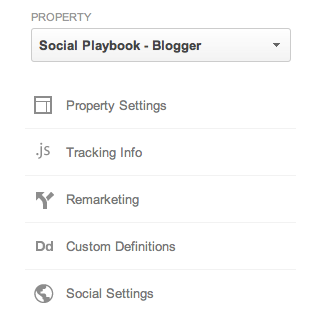
To access your Google Analytics property ID visit: google.com/analytics and sign into your account. Next select the "Admin" tab from the top navigation bar. Once you are in the "Admin" section look in the middle column. You will see a section like the image below. Click on the Tracking Info link.

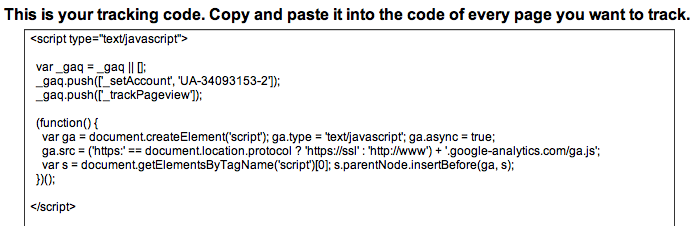
On the "Tracking Info" page you will see a "Tracking ID" copy the ID.

Return to the web page for your blogger account and paste the ID in the section that says "Analytics Web Property ID" and save your changes.
Option 2:
From your blog overview page, select the "Template" link from the left hand side navigation bar. From there select the "Edit HTML" button.

To access your Google Analytics tracking code visit: google.com/analytics and sign into your account. Next select the "Admin" tab from the top navigation bar. Once you are in the "Admin" section look in the middle column. You will see a section like the image below. Click on the Tracking Info link.
Scroll down to the section that says "This is your tracking code" and copy the code.
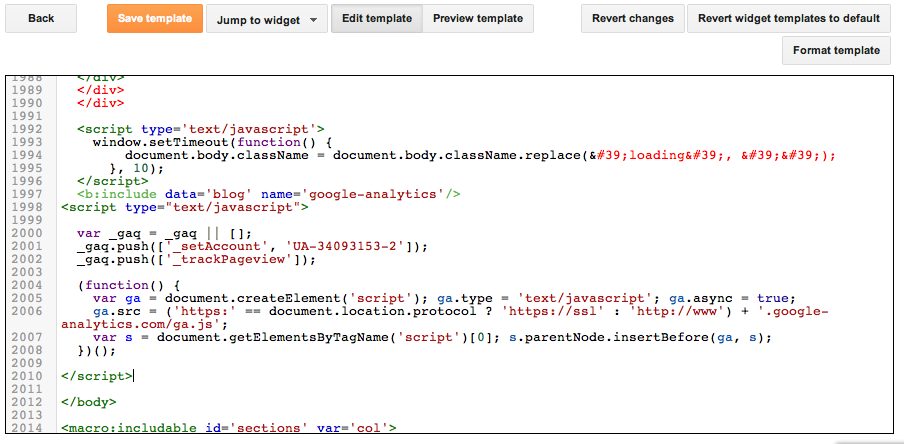
Return to the Template web page for your blogger account and scroll down through the HTML code till you reach the end of the template code. It will be located near the end of the code and will look like this:
</div> </div>
<!– end outer-wrapper –>
YOUR CODE GOES HERE
</body> </html>
Place your cursor before the </body> section and paste in the Google Analytics tracking code. Last but not least don't forget to save your changes.
Adding Bookmarks In Diigo
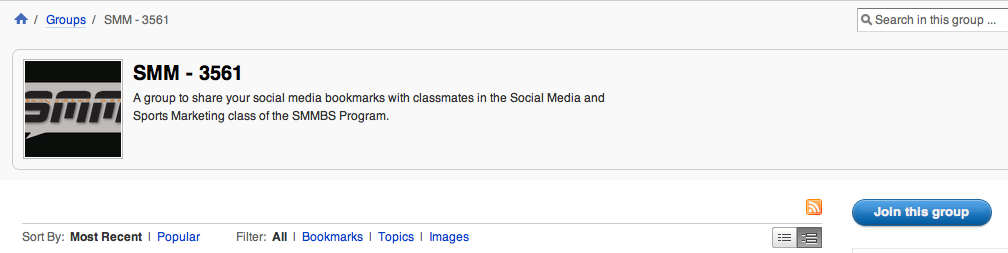
After creating the social media sites for your brand you will need to bookmark them in the class Diigo Group. First sign into your diigo account: diigo.com. You can access the group by clicking here.
Once you are at the group page select the "join group" button:
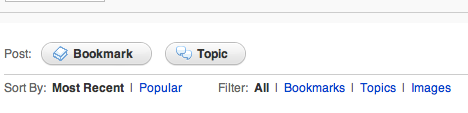
After you select the button you are ready to add bookmarks to the group. Select the bookmark button.

Additionally type in your site title. First type your brand name and follow it with the social media site name.
The last think you will need to enter in is tags. Your tags should follow the format in the example. Tags to include: SMM, your name with no spaces, your brand name with no pages, and the social media page with no spaces.
Once you are at the group page select the "join group" button:
After you select the button you are ready to add bookmarks to the group. Select the bookmark button.
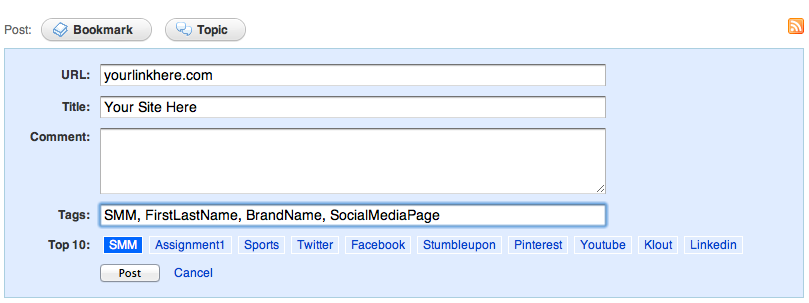
Type in the url to your social media page and select the "Next" button.
Additionally type in your site title. First type your brand name and follow it with the social media site name.
The last think you will need to enter in is tags. Your tags should follow the format in the example. Tags to include: SMM, your name with no spaces, your brand name with no pages, and the social media page with no spaces.
When you are finished click the post button. Your link will be posted to the group. You will then repeat the instruction for the remaining pages.
Please note that the first time you create links they will not publicly show up until I as the moderator approve your posts. Once I do this they will publicly show up automatically after posted.
Subscribe to:
Posts (Atom)