There are two ways to add your Google Analytics to your Blogger blog. This tutorial will show you how to do both. *Please note it can take 24 hours for your results to show up after you add the code.
Option 1:
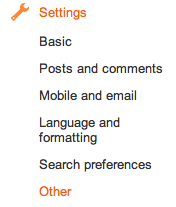
From your blog overview page, select the "Settings" link from the left hand side navigation bar. A new list of links will appear, select "Other"

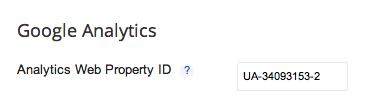
Once you select other you will see a section called Google Analytics. There will be a box asking you to enter in the Analytics Web Property ID. If you already know it enter it in and save your settings. If you don't continue on with the instructions.

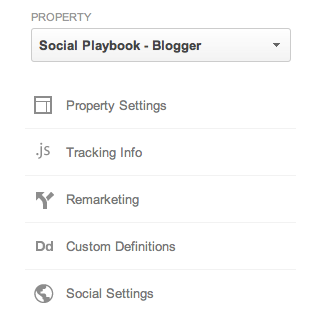
To access your Google Analytics property ID visit: google.com/analytics and sign into your account. Next select the "Admin" tab from the top navigation bar. Once you are in the "Admin" section look in the middle column. You will see a section like the image below. Click on the Tracking Info link.

On the "Tracking Info" page you will see a "Tracking ID" copy the ID.

Return to the web page for your blogger account and paste the ID in the section that says "Analytics Web Property ID" and save your changes.
Option 2:
From your blog overview page, select the "Template" link from the left hand side navigation bar. From there select the "Edit HTML" button.

To access your Google Analytics tracking code visit: google.com/analytics and sign into your account. Next select the "Admin" tab from the top navigation bar. Once you are in the "Admin" section look in the middle column. You will see a section like the image below. Click on the Tracking Info link.
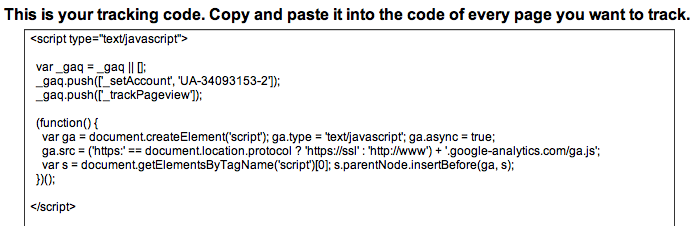
Scroll down to the section that says "This is your tracking code" and copy the code.
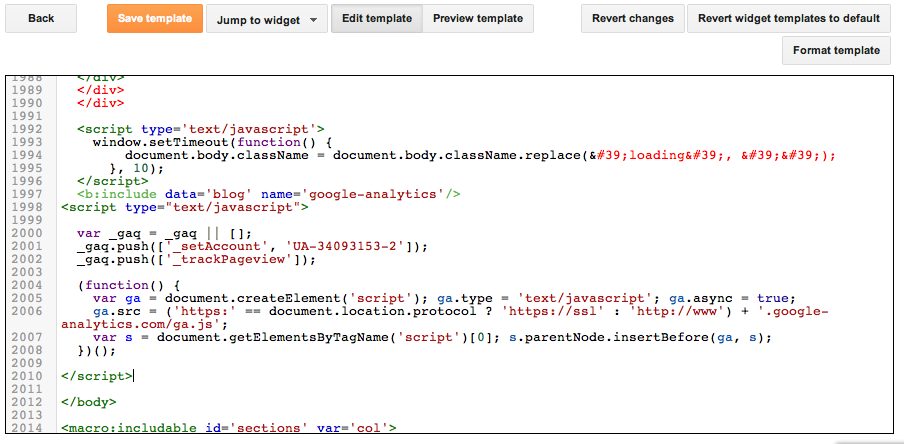
Return to the Template web page for your blogger account and scroll down through the HTML code till you reach the end of the template code. It will be located near the end of the code and will look like this:
</div> </div>
<!– end outer-wrapper –>
YOUR CODE GOES HERE
</body> </html>
Place your cursor before the </body> section and paste in the Google Analytics tracking code. Last but not least don't forget to save your changes.